Sunday, March 25, 2012

The Roof Has Arrived

My new roof showing up on a flatbed with three Little Guys and a very nice Audi.
Jeff (the driver) let me look inside the Little Guys and let me tell you, if you think TABs are little, these things are tiny.  Cute, but I think about half the interior room of my TAB.

My new roof came in this wooden box.  Thanks Ed from Little Guy for the nice box!

We liked the wheels on this little guy.

 Back at the house I replaced the rotted wood at the very base of the front.  Had we not removed the roof I never would have known there was a leak there as well.

My shiny new roof!  I've never been more excited about a roof in my life.

Everyone do an anti-rain dance for me because we want to get this puppy on today!

Monday, March 19, 2012

Getting Ready For the New Roof

I have good news and bad news.  The bad news is that he new roof I was expecting did not show up last week.  Little Guy said they will now bring it down next Monday or Tuesday but I'll be interested to see if this works out as the delivery has been pushed out twice now.  The good news is that we had a lot more prep work to be done anyway so it worked out ok.

We lifted the roof which revealed some seriously bowed 1x2 ribs of, if you can believe this, plywood.  We aren't sure why they didn't use simply 1x2 slats of wood.

The challenge was how to fix this where it wouldn't bow again but would be light enough to support each rib.


We got some long aluminum rail shaped like an L to brace on either side of the new 1x2s I bought at Lowes.

The aluminum attaches on either side of the wook like so.

Off came the roof.  This is what it looked like.  The roof vent came off along with it. 

Here is where the wood on the roof was bowing down and we replaced one of the ribs with a rib brace with aluminum.


To do this my hubby and father in law helped me put a screw through the wood braced with the aluminum to hold it all together.

We drilled through the outside to in so we would know where to put the screws.  We then attached the roof to the new ribs with screws and I will paint those white later.

Sunday, March 11, 2012

Installing the Replacement Back Panel

I got a lot done today.  I sprayed expandable foam in the side wall to fill any gaps left from the replacement wood.  The back base wood 2x2 was replaced by screwing it into the aluminum frame.

I prepped the replacement treated and sealed plywood back panel using an indoor/outdoor berber in a nice brownish shade.  I tried this spray adhesive but ended up having to use liquid nails.


 My father in law helped me secure the back panels using L brackets.

This is it from the inside. I still have yet to replace the floor under there but that back panel looks nice!

Remember...this was the old panel I ripped out - horrible.

And the floor...I have plywood cut to cover this but haven't installed it yet.

Old view from inside...that is the ground you see out there beyond the cushions!

--------------------------------------
I will most likely need to unscrew the back panel for a bit to secure the aluminum panel back to the outside but I waited to do this so I would have the positioning right.

Also I'm already thinking about the bunk mod I want to do to add a detachable bunk bed in front of the back cabinets. I found some examples on line, but the frame of my seating is set up differently so I'll have to come up with a modification for that mod.

Thursday or Friday Little Guy is delivering my new roof!  Hopefully I will get it on next weekend.  I can't wait to tell you about the idea we came up with to brace some of the wooden ribs in the roof to keep them from bowing inward.

Monday, March 5, 2012

Replacing the wood between the exterior skin and interior wall

Yesterday I worked on the camper most of the afternoon.  I got the wood to replace that rotted wood from in between the external skin and interior wall.  I glued in pieces that I had cut to fit the space made by the removal of the rotted wood, treated them with water seal and glued them in with liquid nails.  Next I clamped the glued in pieces with various clamps (and my propane tank is leaning against it too, helping out.)


I also got most of the remaining red trim washed and prepped with mineral spirits to be painted next time.


My father in law came over and we removed all of the metal trim along the roof and the base of the camper in the very front, and the front bin that holds the battery and propane tank in order to prepare for my new roof!

This shows what it looked like before we removed the roof trim - you can see that the metal runs along the top, secured by screws.  This has to be removed and cleaned of white caulk.  The front red bin is bolted and screwed down.  We removed the battery and tank to gain easier access to remove it.


Saturday, March 3, 2012

Repairing the Delaminated Side Wall

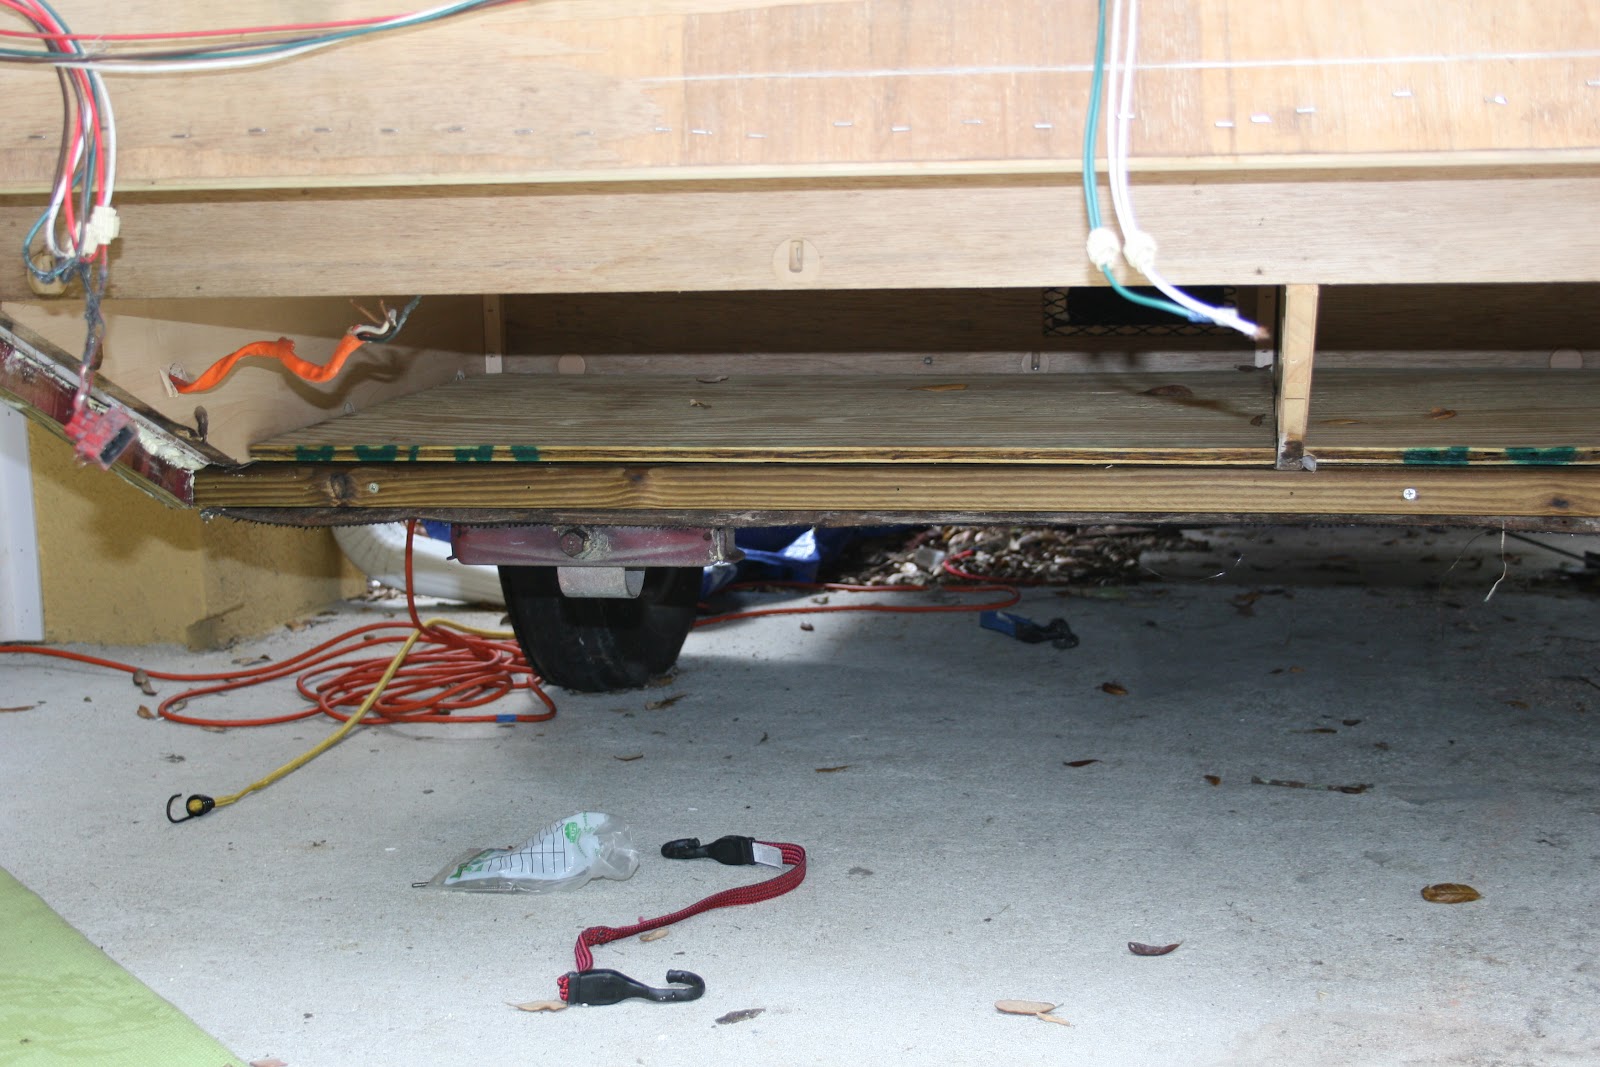
Delamination is when the outer skin of the camper separates away from the wall it is attached to.  In this case you can see exactly where the water damage was the day we brought her home. Right down there behind Madison (the chocolate Lab), bottom right.

When the water was standing in the back trim, the floor and walls absorbed the liquid like a sponge.  Inside the wall there was a thin sheet that had rippled and bowed inside the skin. That's where the bubble came from.


To fix this I took out as much of the composite separating the outer skin from the interior foam and wood pieces using whatever I had, pliers, forecepts etc.
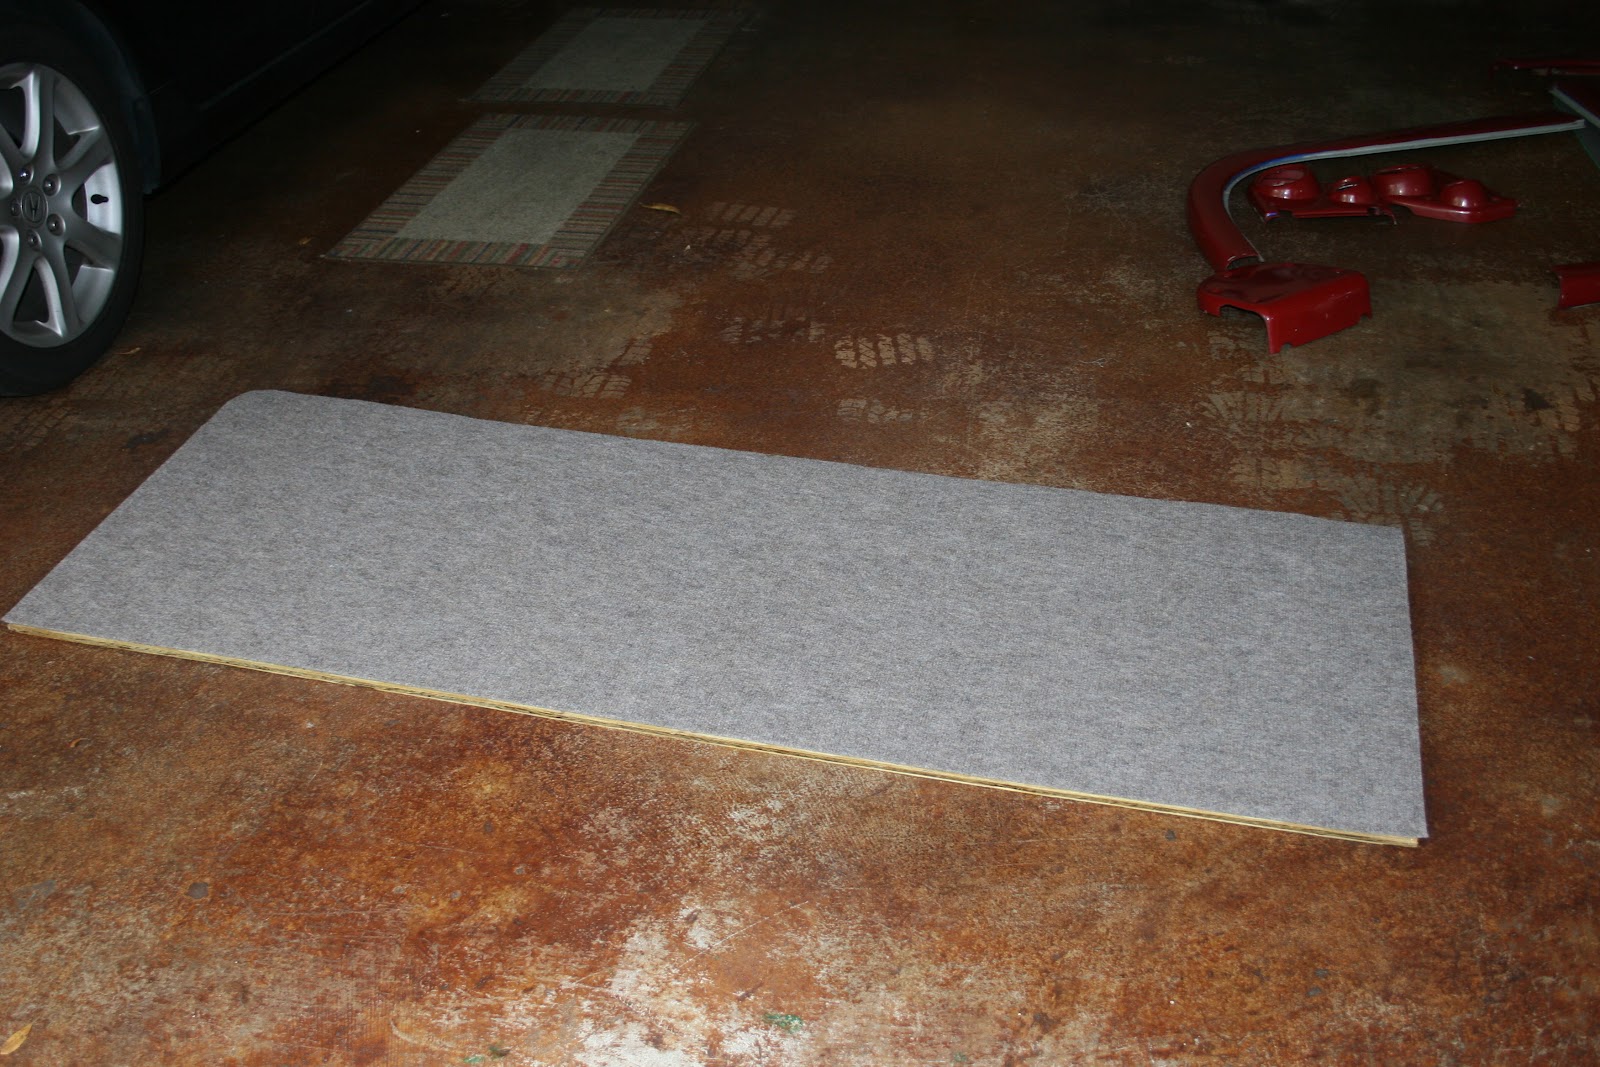
Once that was done I cut pieces to fit along the very edges to replace the rotted wood I had cut out.


Using liquid nails (the temp must be between 40 and 90 degrees during application and dry time of 24 hours) and a blue plastic spackling tool to squirt liquid nails on, I spread it in between the outer skin and interior foam/composite/whatever was left.
I then covered a 4x6 long enough to cover the space and pressed it against the outer wall using a car jack and the side of our concrete house.


I also added some clamps along the back edge.


I let the clamps sit 48 hours and then removed them.


I will now be able to glue the wood pieces in to replace the rotted wood so I will have something to screw the trim into.  I will also fill in any gaps with some expandable foam.


It's not perfect, but much better. 


Next up I will glue the wood in shown above, screw the back panel in with L brackets and put the plywood over the floor in the back.

After that a new roof is on the way.  I'll be replacing the roof.  That should be interesting.